In this article, I will show you how to set up Pi-hole. Pi-hole will allow you to block in-app ads, improve your network’s performance, and monitor statistics. Pi-hole also allows you to create a VPN.
What is Pi-hole?
Pi-hole is a Linux network-level advertisement and Internet tracker blocking application that acts as a DNS sinkhole and optionally a DHCP server, intended for use on a private network. It is designed for low-power embedded devices with network capability, such as the Raspberry Pi, but can be installed on any Linux machine. Pi-hole has the ability to block traditional website advertisements as well as advertisements in unconventional places, such as smart TVs and mobile operating system advertisements.
Requirements
- A computer with Linux (preferably something Debian-based)
- Preferably an Ethernet cable
- Access to your router’s admin portal
- A static IP
- An internet connection (it’s pretty difficult without one, trust me)
Installation
The first thing we have to do is download the installer.
To do that, type:
wget -O basic-install.sh https://install.pi-hole.net
Now, install it with:
sudo bash basic-install.sh
Now you should see something like this:
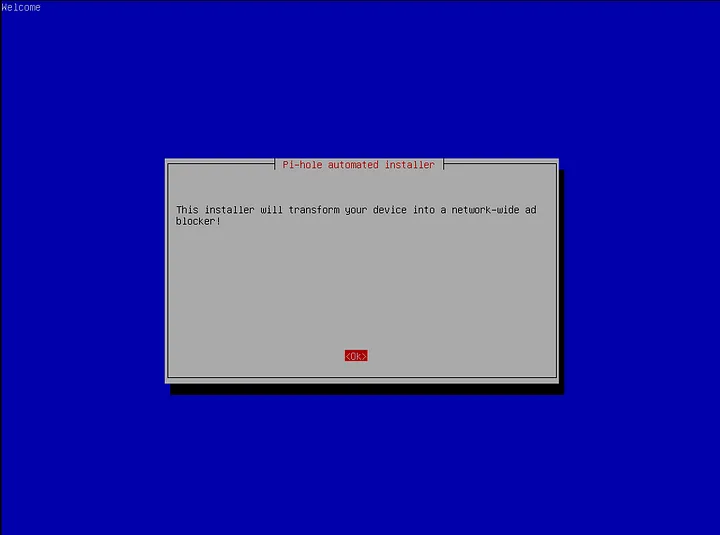
Just press OK.
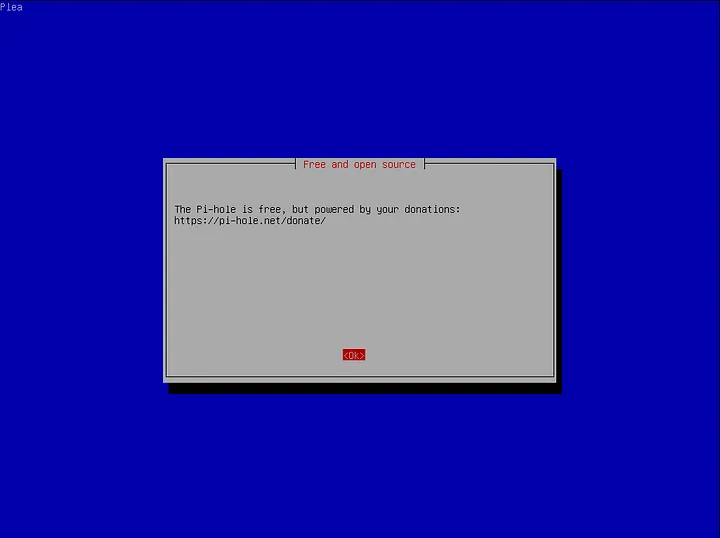
Just press OK again.
As I said before, you have to have a static IP in order to set up the Pi-hole, so if you have one configured, just press Yes.
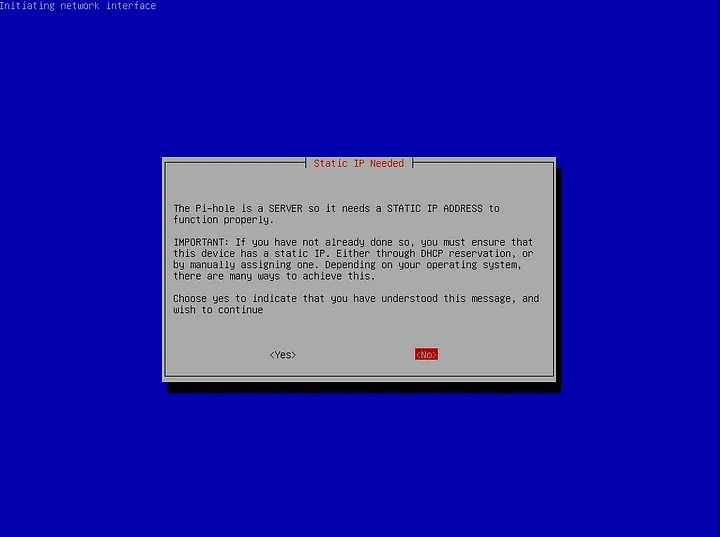
Otherwise, you will have to set one up.
Now you will be prompted to select your upstream DNS provider. You can select any of the DNS providers on the list. I will just select Google.
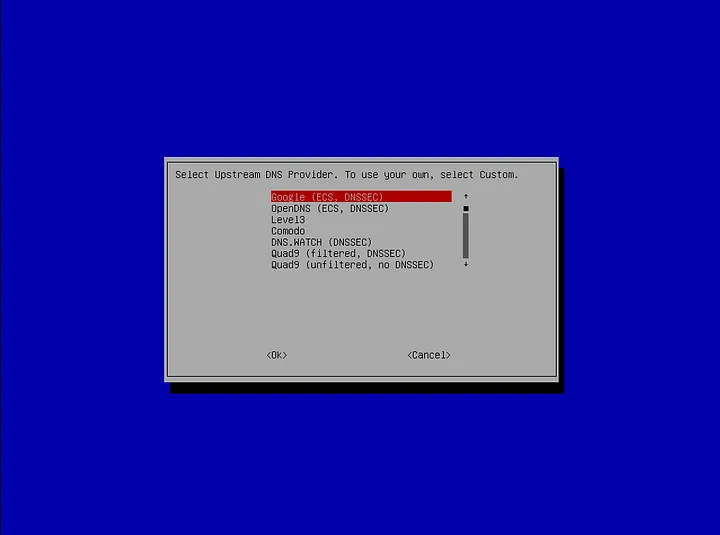
And press OK.
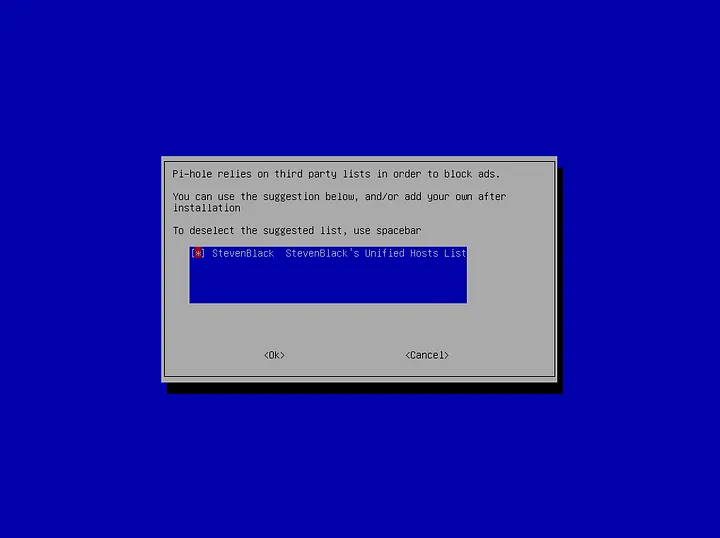
After that, you will have to select your list. I will just select the default one.
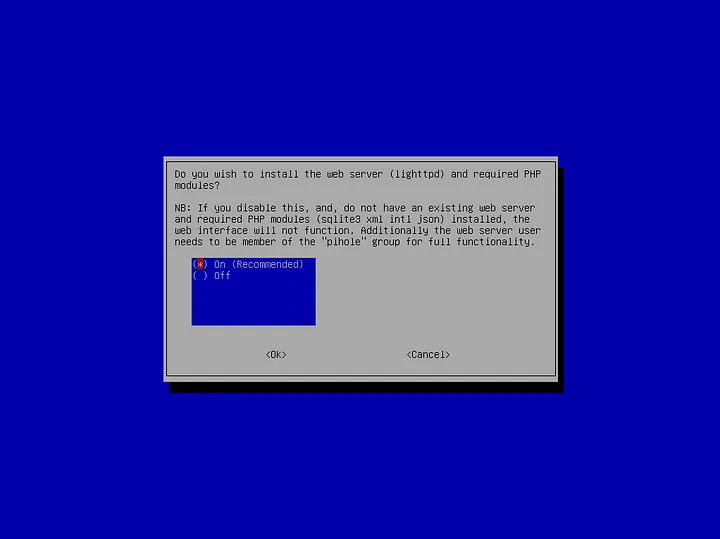
Now you will have to select whether you want a web admin interface. Select On and then OK.

Now just select On and press OK.
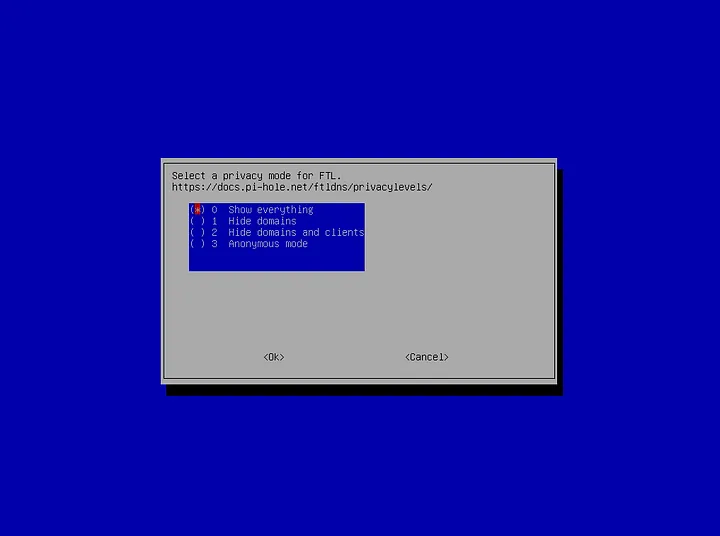
After that, you can select if you want to log queries. You can select any option you want.

Now, I recommend that you leave this as default, but you don’t have to.
Now it should start installing everything.
After the installation is finished, you should see something like this:
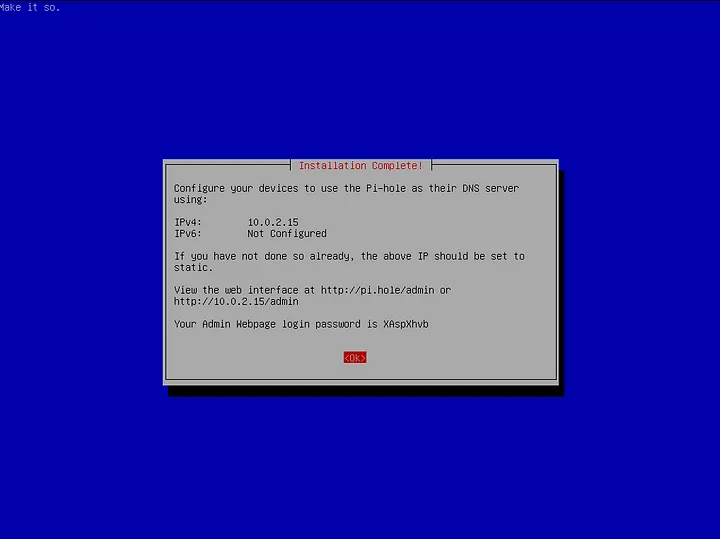
You have now successfully installed Pi-hole. You can head to the admin portal by going to the specified IP.
To be able to use Pi-hole, you have two options:
- Make the IP the default DNS for your whole network
- Manually add it on any device
I’ll go with the second option.
On Windows:
DNS settings are specified in the TCP/IP Properties window for the selected network connection.
- Go to the Control Panel
- Click Network and Internet > Network and Sharing Center > Change adapter settings
- Select the connection for which you want to configure
- Right-click Local Area Connection > Properties
- Select the Networking tab
- Select Internet Protocol Version 4 (TCP/IPv4) or Internet Protocol Version 6 (TCP/IPv6)
- Click Properties
- Click Advanced
- Select the DNS tab
- Click OK
- Select Use the following DNS server addresses
- Replace those addresses with the IP addresses of your Pi
- Restart the connection you selected in step 3
- Repeat the procedure for additional network connections you want to change
On Linux:
In most modern Linux distributions, DNS settings are configured through Network Manager.
- Click System > Preferences > Network Connections
- Select the connection for which you want to configure and press Edit
- Select the IPv4 Settings or IPv6 Settings tab
- If the selected method is Automatic (DHCP), open the dropdown and select Automatic (DHCP) addresses only instead. If the method is set to something else, do not change it.
- In the DNS servers field, enter your Pi’s IP addresses
- Click Apply to save the changes
Warning: If you are not using Network Manager, your DNS settings are specified in
/etc/resolv.conf.
Now, if we head over to any websites with ads, you should see that no ads appear.
Let’s try speedtest.net.
If you have followed the steps correctly, you should see something like this:

NO ADS
Enjoy the ad-free web.
If you enjoyed this article, consider supporting me.